Learn BayEngine for the work you do
Start with Navigate, search, and create records in BayEngine, then follow the path that matches your daily work. These are learning paths, not access rules: shops divide responsibilities differently, and one person may follow more than one path.
If a page or action is missing, ask your administrator to review your Roles and permission overrides.
Owner or organization administrator
Your first goal is a safe launch and a shop configuration the team can use without workarounds.
- Complete Set up and launch your shop in BayEngine.
- If you are changing systems, review Move your data to BayEngine.
- Learn how to manage Roles and permission overrides.
- Review the Shop Setup guides for business information, Workflow Stages, pricing, taxes, payment methods, customer documents, and organization defaults.
- Follow the service-advisor and technician paths far enough to understand the work shown on the Workflow board.
- Open Reports and review Overview, Sales, Payments, Taxes, Receivables, Technicians, and Cash Drawer with the people responsible for those numbers.
- Complete the go-live readiness check.
You are ready when settings and imported totals have been approved, every employee has suitable access, and the team has completed a practice visit.
The Billing tab does not accept subscription billing information yet. BayEngine handles billing arrangements separately during onboarding.
Shop administrator
Your goal is to keep one location configured and remove access or workflow problems before they slow down the team.
- Review shop identity, hours, and closures.
- Review Workflow Stages and operational defaults.
- Learn how to add and maintain users.
- Learn how to manage Roles and permission overrides.
- Review pricing, taxes, payment methods, customer documents, Canned Services, and Inspection Templates.
- Follow one repair order through the Workflow board and review the reports your location uses.
You are ready when you can add an employee, diagnose missing access, change a shop setting safely, and confirm that work reaches the correct Workflow Stage.
Service advisor
Your goal is to guide a visit from booking through payment while keeping the customer informed.
- Learn to create customers, manage customer contact details, and add or correct vehicles.
- Review Scheduling and Intake: availability, appointments, online bookings, walk-ins, vehicle check-in, Reason For Visit, odometer, and Promise Time.
- Review Estimates, Inspections, and Authorization: build an Estimate, use a Canned Service, send work to the customer, and record decisions.
- Review Repair Order Workflow: create or convert a Repair Order, assign work, move Workflow Stages, track progress, and prepare for invoicing.
- Review Customer Communication and Portal: text, email, templates, customer approvals, documents, and message-delivery problems.
- Practice recording a payment and confirm the Invoice and Customer Portal show the expected result.
You are ready when you can take one practice visit from appointment through a finalized Invoice without entering the same information twice.
Technician
Your daily starting point is usually Workflow and the repair orders assigned to you.
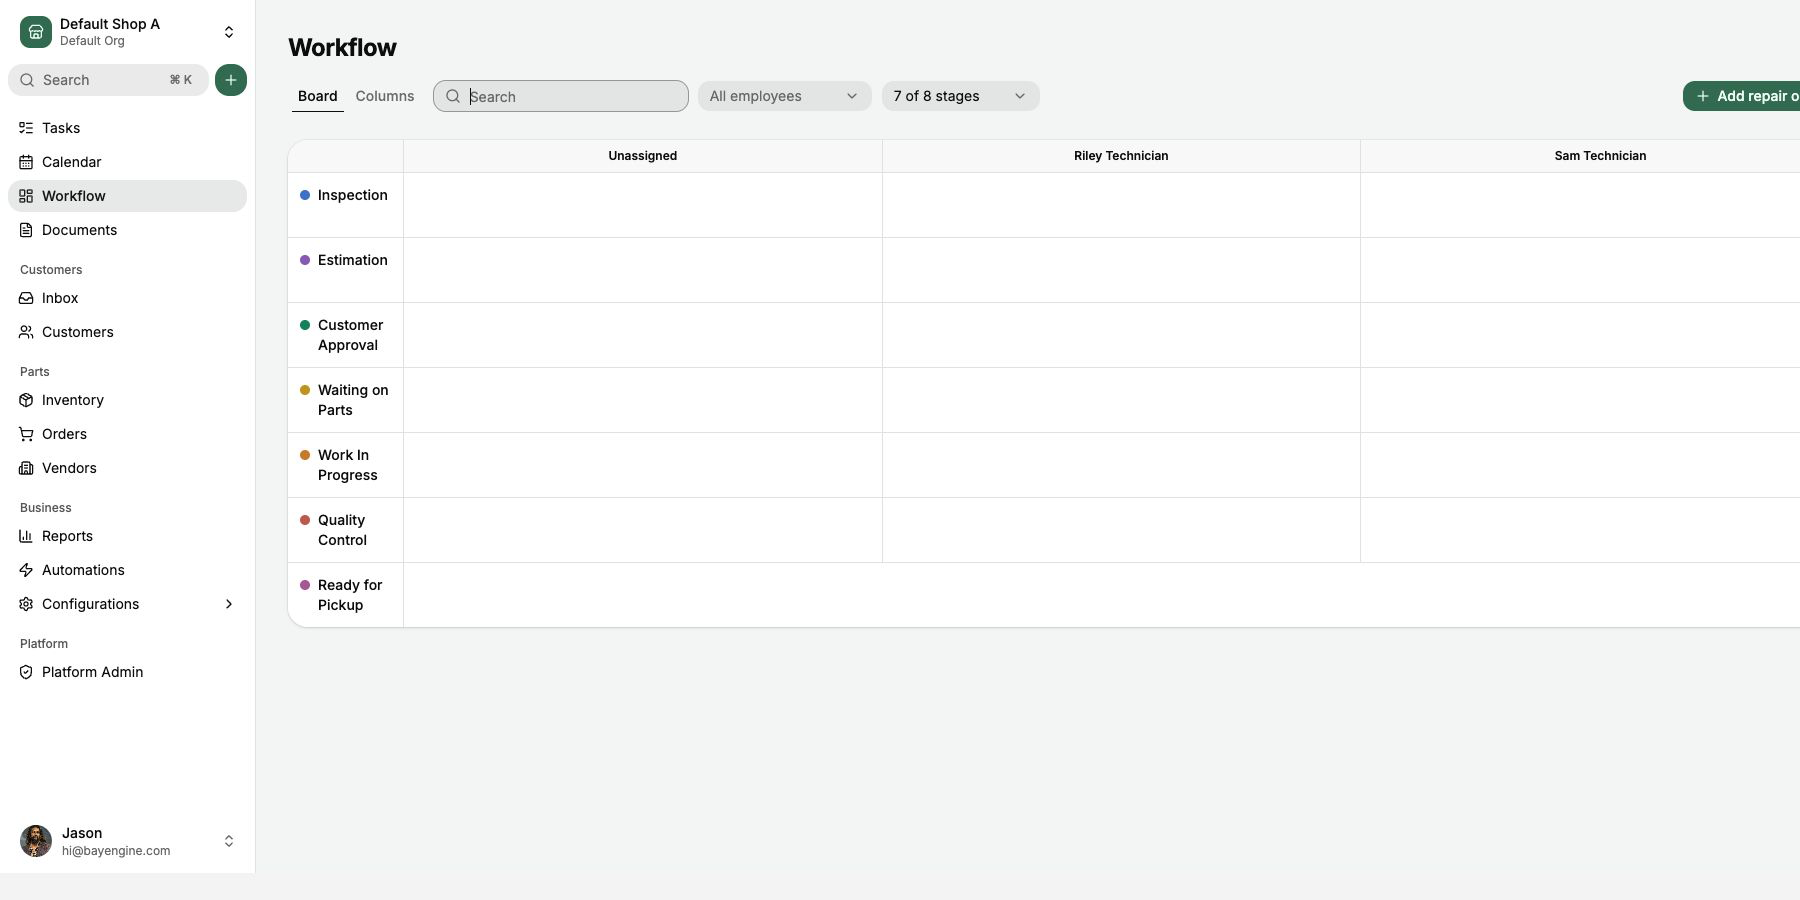
- Learn how to open an assigned repair order and review the Reason For Visit, Promise Time, notes, and assigned Services.
- Review Configure and perform Inspections.
- Learn to record Technician Findings, notes, photos, and video.
- Learn how Service progress, labor-line completion, and work time are recorded.
- Learn which Workflow Stages your shop expects technicians to move.
- If technicians handle parts at your shop, practice confirming fitment, adding the correct Part, checking quantity, and following the shop's ordering process.
You are ready when you can open assigned work, complete an Inspection, record a clear finding, update the Service, and move the visit to the correct next stage.
Parts and Inventory
Your daily pages are Orders, Inventory, and Vendors, plus the Part lines on estimates and repair orders.
- Learn how to find or create a Vendor and confirm account information.
- Practice finding an Inventory Part by part number, brand, or description.
- Confirm fitment and add the correct part and quantity to a Service.
- Create a Purchase Order and receive a full, partial, backordered, or substituted shipment.
- Learn the shop's process for quantity adjustments, transfers, returns, and Cores.
- Review the Inventory and purchasing information included in data migration.
You are ready when you can trace a part from demand through ordering, receiving, installation, and return without losing its cost or quantity.
Bookkeeping and financial review
Your goal is to understand when a sale becomes final and how payments, taxes, receivables, and reports connect.
- Review labor rates, Part markup, fees, discounts, and Tax Configurations.
- Review payment methods and customer-document settings.
- Learn the shop's Invoice Finalization requirements and correction process.
- Open Reports > Sales and compare a completed day with finalized Invoices.
- Review Payments, Taxes, Receivables, and Cash Drawer with the shop's normal closing reports.
- If data was migrated, compare the agreed historical period with the source financial reports before approving go-live.
You are ready when you can explain a day's sales, payments, outstanding balances, and taxes and trace a difference back to its source record.
If you wear several hats
Complete the owner or shop-administrator path first, then the service-advisor path. Add the technician or parts path for work you personally perform. The same Roles can be combined, but avoid giving full access when a smaller set of permissions is enough.