Set up and launch your shop in BayEngine
BayEngine handles the initial data migration and works with you on the first configuration pass. Your job is to provide the source information, confirm the settings, add your team, and approve the shop before it goes live.
If you are moving from another shop-management system, start with Move your data to BayEngine. Plan the migration before changing settings or entering live work.
Know who handles each part
| BayEngine handles | You confirm or complete |
|---|---|
| Create the organization and first shop | Public business information and address |
| Import supported data from your previous system | Business and online-booking hours |
| Load available taxes, pricing matrices, templates, and workflow settings | Labor rates, markup, fees, discounts, and taxes |
| Reconcile imported financial and operating totals | Users, Roles, and permission exceptions |
| Help correct migration problems before launch | Integrations and the final go-live approval |
The Billing tab does not accept billing information yet. BayEngine will arrange subscription billing with you separately during onboarding.
1. Plan the data migration
Email hi@bayengine.com with your current system, desired launch date, number of shops, and the amount of history you want to move. BayEngine currently has a full migration process for Shop-Ware. If you use another system, the team will confirm what can be moved before setting a launch date.
The normal schedule uses two source captures:
- About one week before launch, BayEngine collects the first export or uses the source-system access you provide. This creates time to import, configure, and find source-data problems while your shop keeps working normally.
- At cutover, BayEngine collects a final export or source snapshot. This pass brings over the supported records created or changed after the first capture.
See Move your data to BayEngine for the complete preparation, migration, and validation process.
2. Confirm the shop identity
Open Configurations > General > Business info.
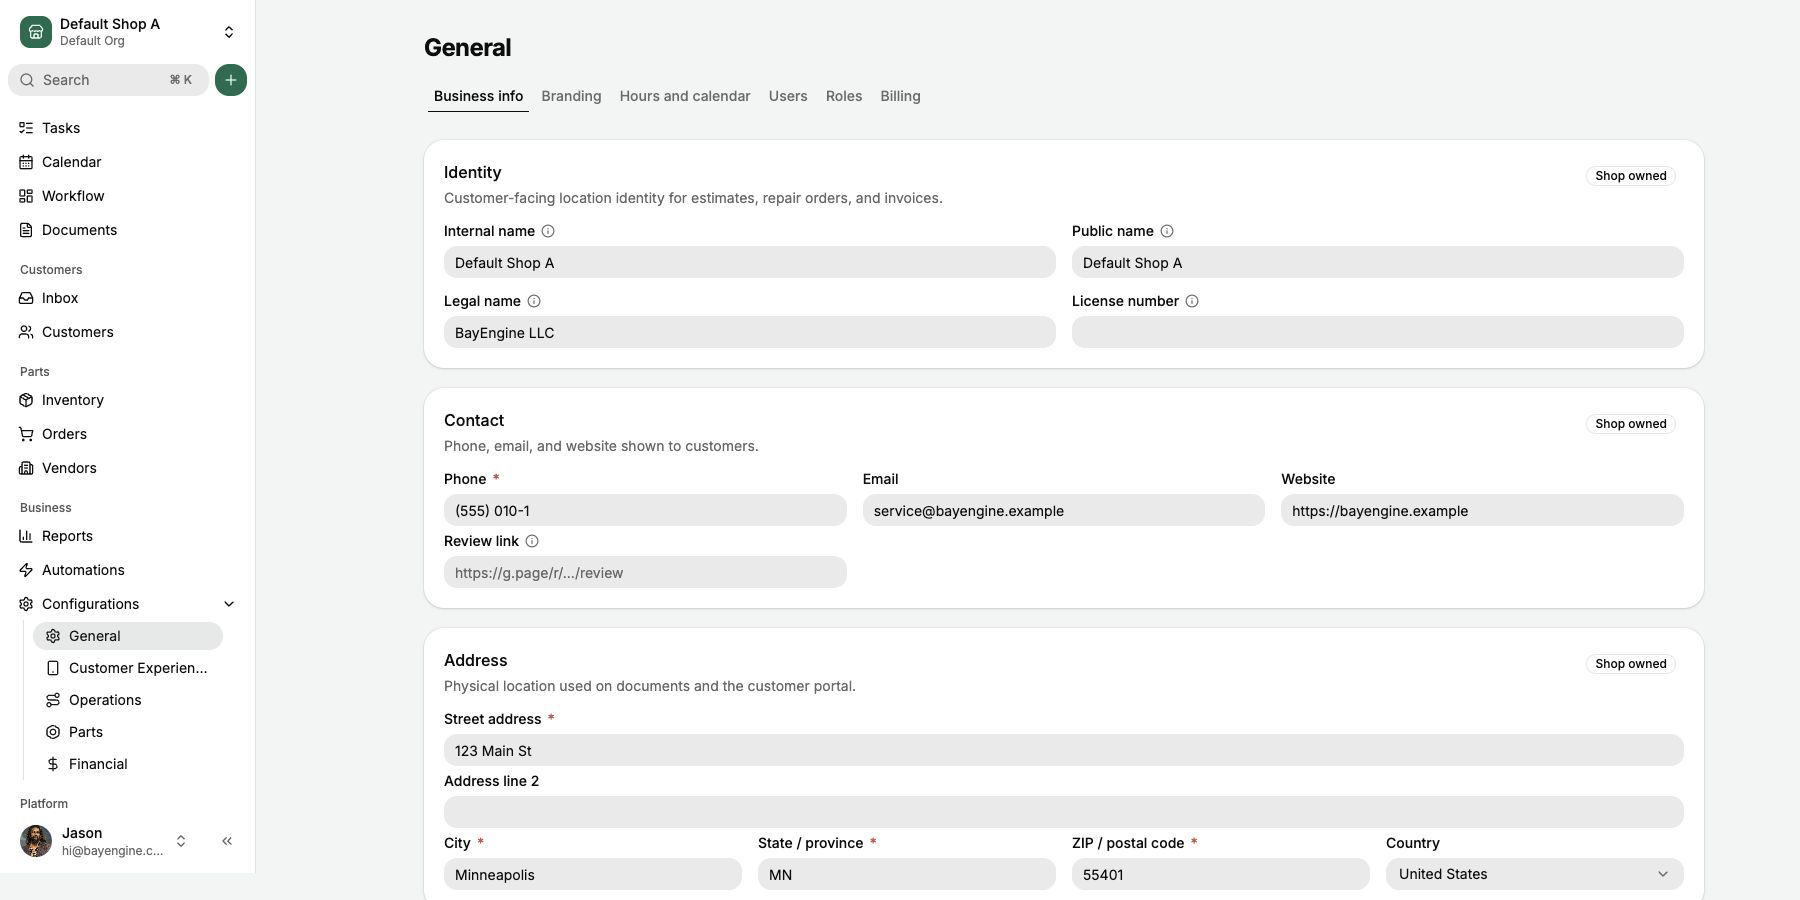
Check the following before anyone sends a document:
- Internal name is the shop label staff see in the shop switcher.
- Public name is the name customers see on estimates, repair orders, invoices, and the Customer Portal.
- Legal name and License number are complete when they apply to your business.
- Phone, email, website, and postal address are correct.
- Timezone and distance unit match the physical shop.
The Public name, phone, address, and timezone are required before customer-facing work. The full field reference is in Shop identity, contact information, hours, and closures.
3. Confirm business hours and online booking
Open Configurations > General > Hours and calendar. New organizations start with Monday through Friday, 8:00 AM to 5:00 PM, plus standard U.S. holiday-closure defaults. Replace those defaults with the shop's actual hours and review the holidays that apply to you.
Set the Default appointment duration and decide whether creating a repair order should mark its appointment Arrived automatically.
Customer-facing booking uses a different schedule. Open Configurations > Customer Experience > Online booking to review its bookable hours, slot interval, capacity, required notice, booking choices, and notification recipients. Business hours do not update online-booking hours automatically. See Configure scheduling availability.
4. Confirm pricing, taxes, and payment methods
Open Configurations > Financial and work through each tab:
- Labor: confirm labor rates, labor markup, the labor-guide multiplier, and default labor cost.
- Part markup: confirm both the General and Tires pricing tables.
- Fees and discounts: keep only the templates the shop actually uses.
- Taxes: enter the labor, parts, Sublet, and fee rates, then confirm the default tax configuration.
- Payment methods: enable and arrange the tenders staff may record.
Payment methods tell BayEngine how a payment was received. They do not connect a card processor. Card payments are completed outside BayEngine and then recorded in BayEngine until an integrated payment provider is available.
Read Labor rates, part markup, fees, discounts, and taxes and Payment methods and customer-document settings for the detailed behavior of each setting.
5. Add users and review Roles
Open Configurations > General > Roles before inviting the team. A Role is a live permission bundle. Editing a Role changes access for every current user who holds it at that scope.
Then open Configurations > General > Users and invite each person with the Role or Roles that match their work. A Role can cover one shop or every shop in the organization. Use a per-user permission override only when someone needs an exception to their Roles.
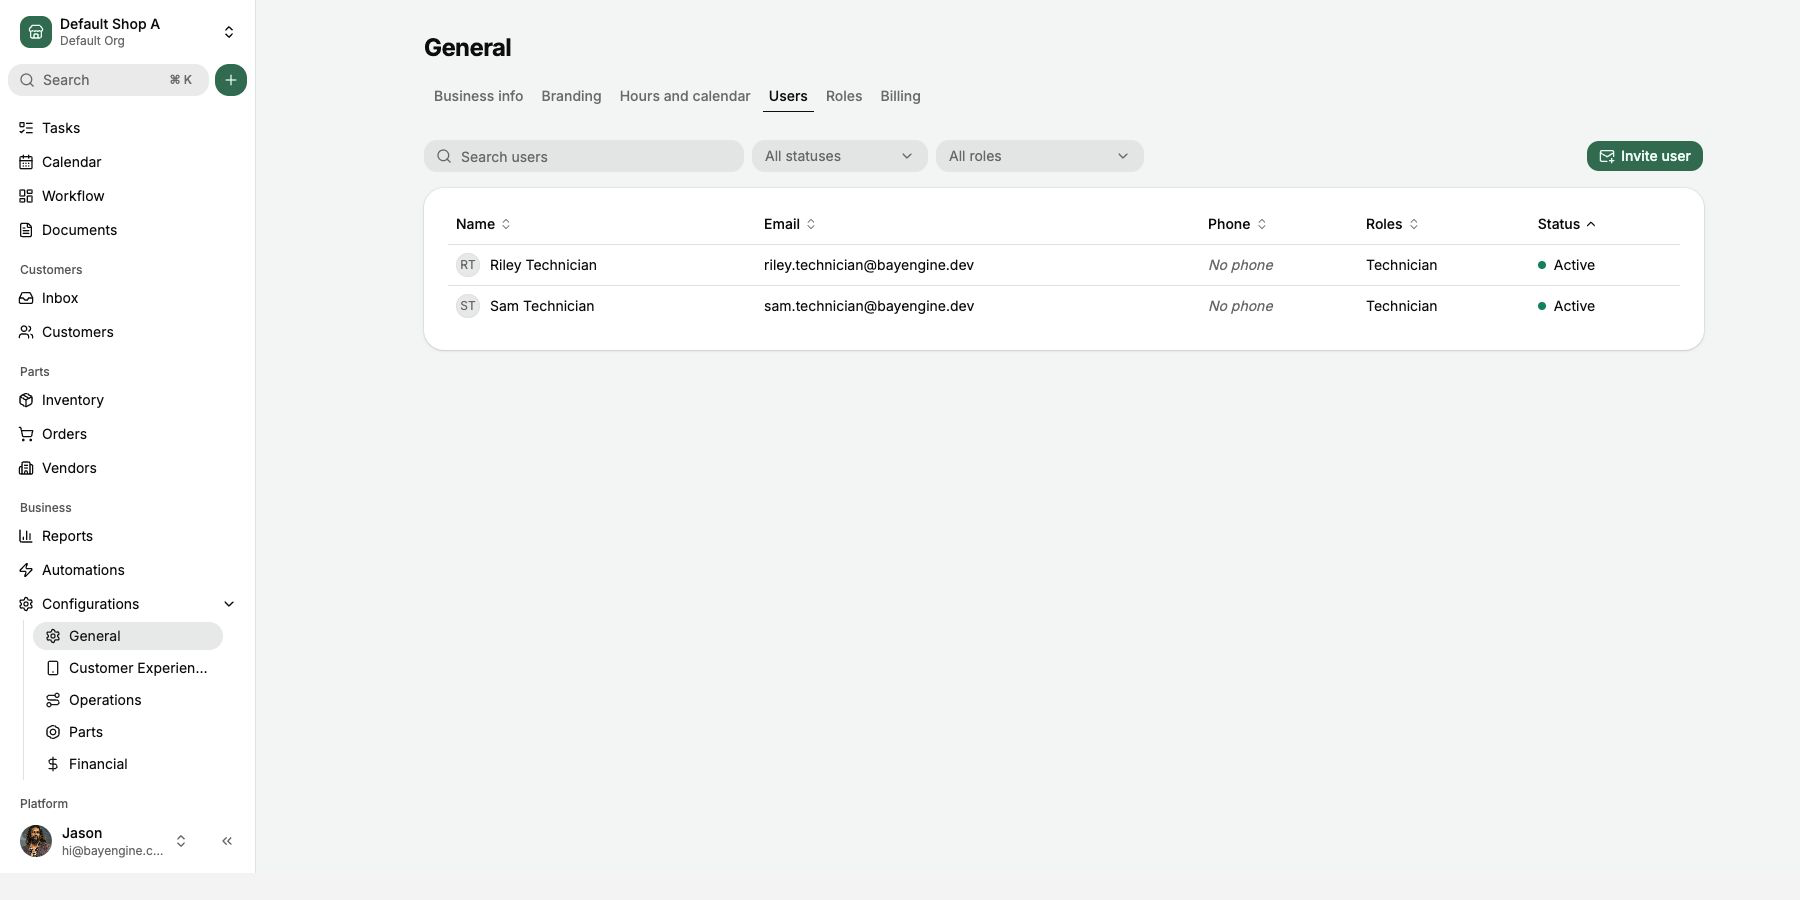
Owners who need every shop and organization setting should use the Organization administrator Role. Shops can adjust the Technician, Service advisor, and Shop administrator permission bundles to fit how their team actually works.
See Manage Roles and permission overrides and Add, update, deactivate, or reactivate users.
6. Review the daily-work setup
Open Configurations > Operations and confirm:
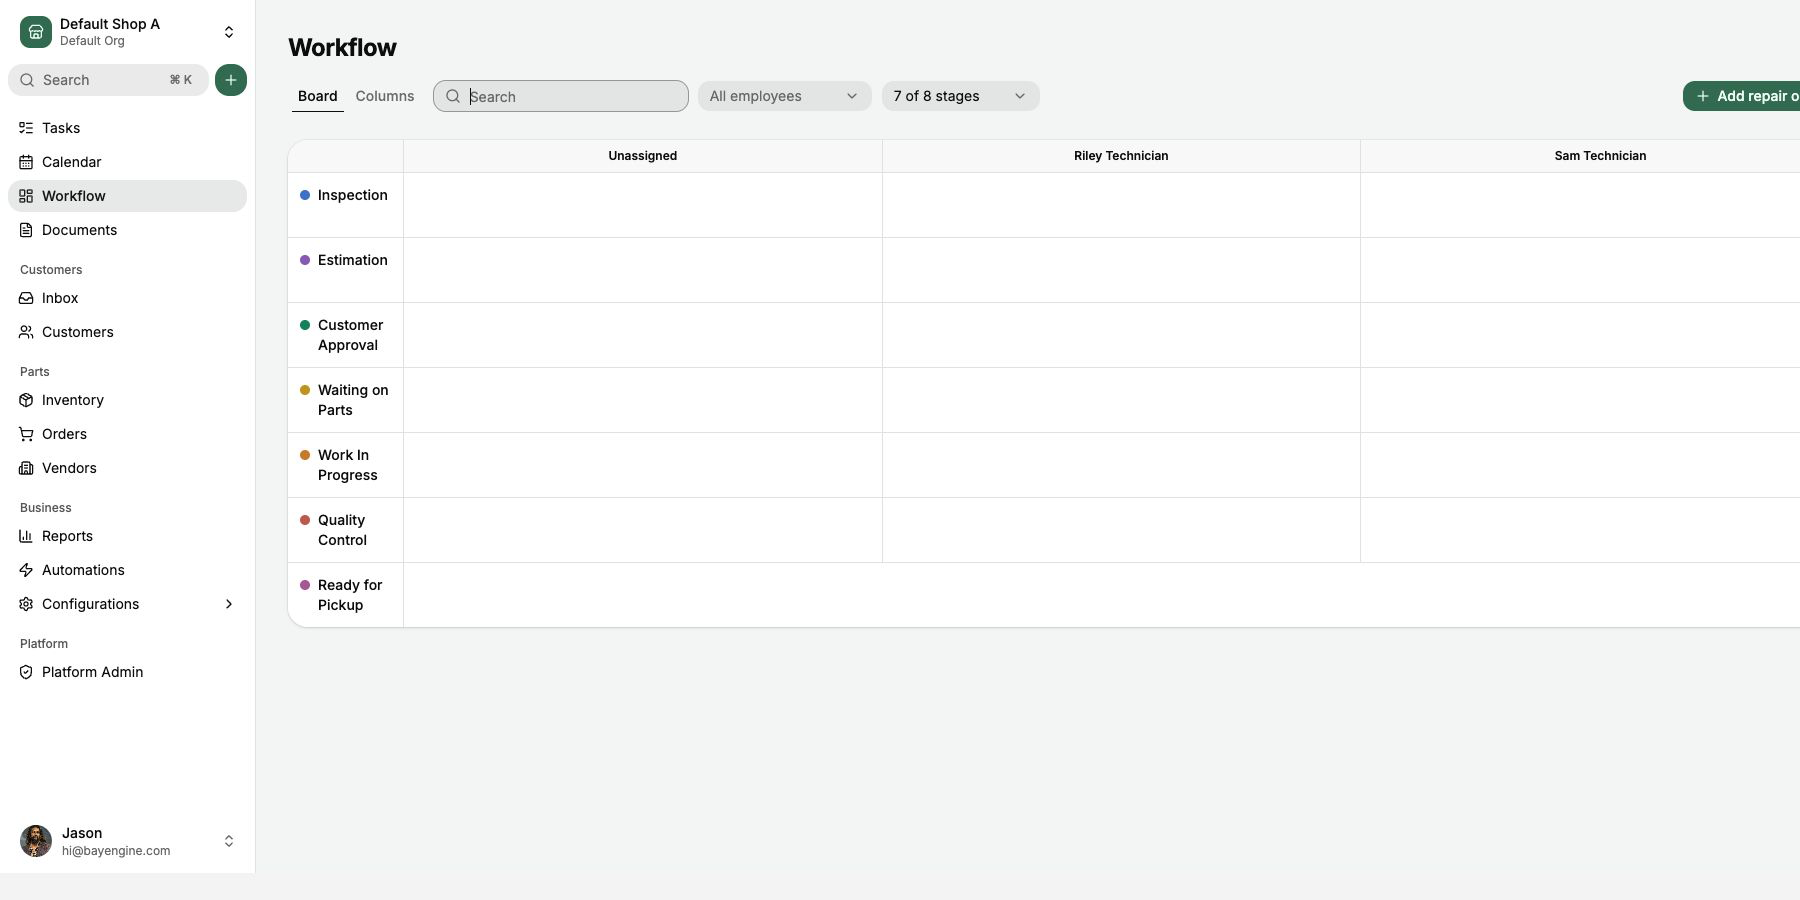
- Workflow has the stages and user-specific lanes the shop needs.
- Invoice-finalization requirements match what must be complete before an invoice can be finalized.
- Service categories match how the shop groups work.
- Maintenance settings are appropriate for the vehicles the shop services.
- Canned services include the shop's common work and current pricing.
- Inspection templates contain the sections and tasks technicians use.
- Customer documents have the correct numbering and customer detail.
If the organization has multiple shops, check the source badge before editing a setting. An inherited group follows the organization; a shop override is a complete shop-owned copy. See Use organization defaults and shop overrides.
7. Review vendors and inventory
Open Vendors and Inventory. Confirm imported vendor names, account information, part numbers, costs, locations, and opening quantities. If the shop stocks parts in more than one place, configure those locations under Configurations > Parts > Inventory locations.
Check opening quantities before staff begin receiving or adjusting stock in BayEngine. A discrepancy is easier to correct before the new inventory ledger has activity.
8. Connect outside services
Third-party services need their own activation or credentials. During onboarding, confirm which of these apply:
- CARFAX is activated for the shop.
- The shop's PartsTech account is connected.
- Messaging registration, including required 10DLC information, is complete before staff send customer texts.
- Any payment, accounting, or other provider that is available to the shop has been configured separately.
Do not assume source-system credentials move with the data. BayEngine will coordinate the supported connection steps with you.
9. Complete cutover and approve the shop
Use Complete your go-live readiness check for the final source capture, imported-data review, reporting checks, and approval. Do not start live work until BayEngine and the shop agree that the final migration pass is complete.
Approval is currently recorded by email. Reply to the migration thread or email hi@bayengine.com after the checklist passes.
10. Run one repair order from start to finish
Before opening the doors on BayEngine:
- Create or open a test customer and vehicle.
- Create an appointment or repair order.
- Add a Canned Service and confirm the labor, parts, fees, discounts, and tax.
- Send the estimate and record a test authorization.
- Assign work, complete an Inspection, and move the repair order through the Workflow Stages.
- Record a test payment and finalize the Invoice.
- Confirm the customer document and Reports show the expected result.
Delete or clearly identify the test records before live work begins.
Use the old system only for verification after cutover
Keep the previous system available for about one week. Enter all new appointments, estimates, repair orders, and payments in BayEngine after the cutover point. Use the previous system only to verify missing or disputed information, and report a discrepancy before ending access to it.
Your shop is ready when the go-live checklist is approved, each user can open the pages required for their work, customer documents show the right business information, and the first repair-order test is complete.